Thanks to its versatility, longevity, and remarkable strength, concrete is suitable for all kinds of construction projects. It can also be ideally used for creating a shed base, resulting in an extremely hard-wearing base. This blog post will take you through the step-by-step guide to laying a concrete shed base.
Firstly, choose the location and then mark out the slab’s area. Allow additional space for the framework (a wooden frame that is placed to keep concrete in place) by making it longer and wider than the shed. Then, drive the wooden frame into the ground and place a stretched piece of string between each corner. Measure both diagonals to ensure that the corners are square. You will have to make adjustments if they are not exactly the same.
In this step, a damp roof membrane and sub-base are needed to lay beneath the slab level. Thus, you will have to dig the base area. While digging, remove all the stones, rubbish, vegetation, and other grass, and then compact the ground. Make use of a small excavator for easy digging.
The placement of the sub-base is essential because the soft ground cannot support the weight of a concrete base directly. It is recommended to use MOT Type 1 hardcore, the best material for sub-base and is widely accessible in small and large packs from trade suppliers.
After placing your gravel sub-base, compact the surface properly. Lastly, cover the sub-base surface with sand to stop the stones from piercing the damp-proof membrane.

Use strips of treated wood to build a frame for the slab you are making. If the formwork is not square and level on all sides, your shed will not be balanced properly, so be careful while creating it.
Place the frame on the location where the base will sit, and then arrange the wooden stakes around the formwork. These will prevent the concrete from moving out. Make sure the top and posts of the formwork are level on all sides using a spirit level.
To create a tray, cover the entire sub-base with a heavy-duty plastic sheet, turning up the edges inside the formwork.
There are two uses for this DPM:
When working with concrete, you must be very cautious because cement is corrosive; it can seriously harm your eyes and skin. Always wear rubber boots, gloves, a hat, long sleeves, and safety goggles.
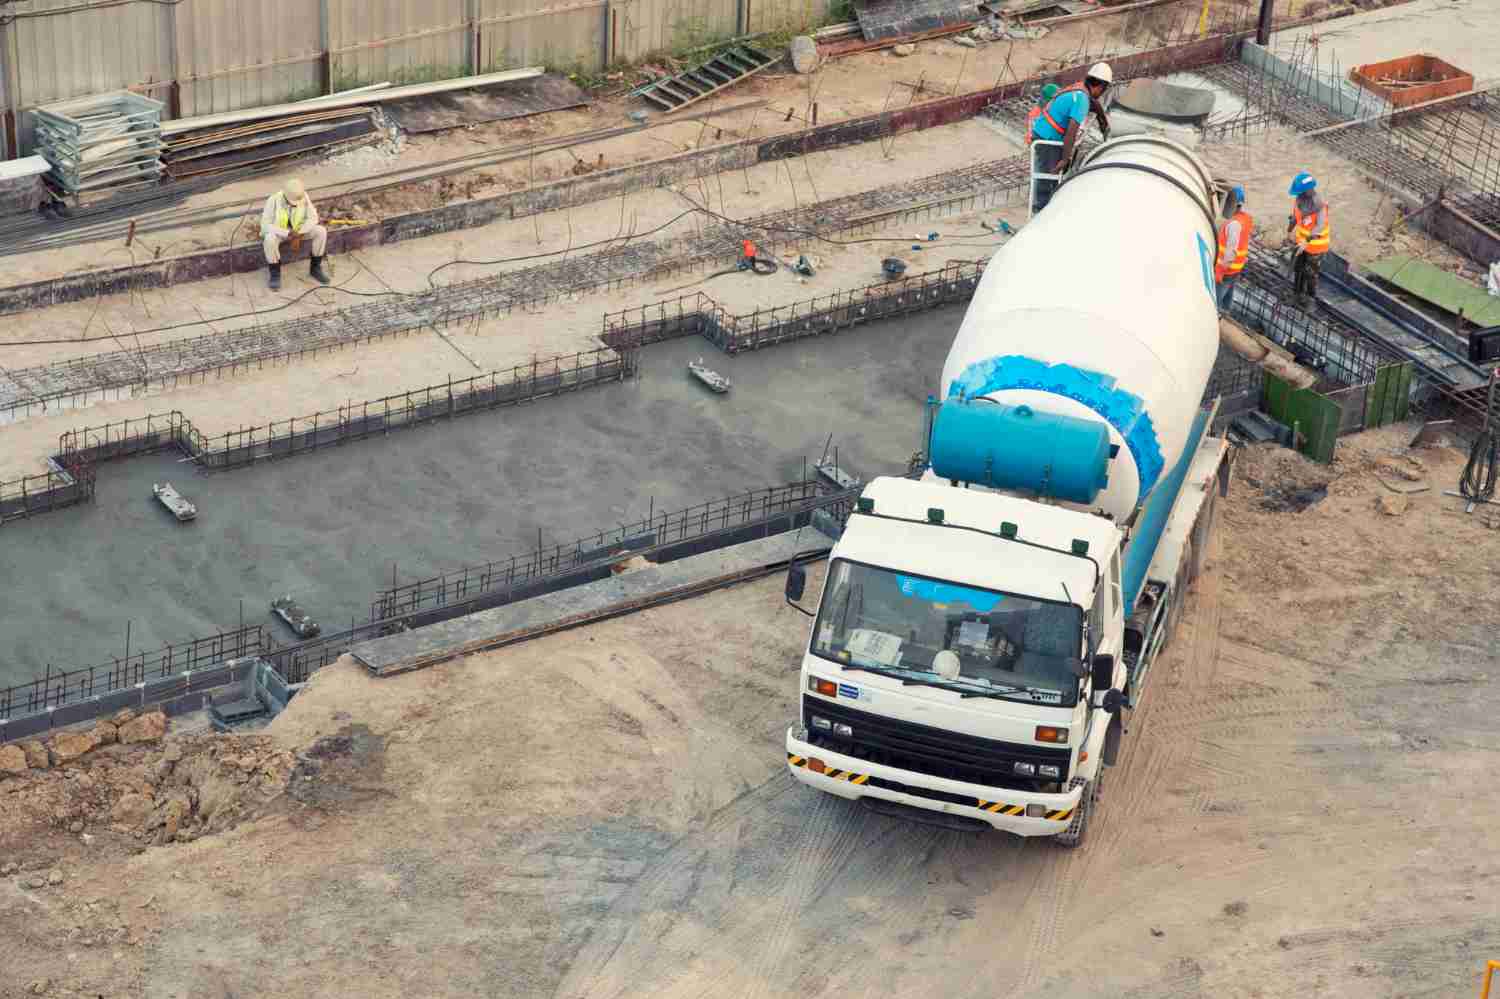
When you’re ready to begin, you have to move quickly since concrete loses its quality in around two hours after mixing. You can use a wheelbarrow to move concrete from the mixer to the site. About forty wheelbarrow loads of concrete make up one square meter.

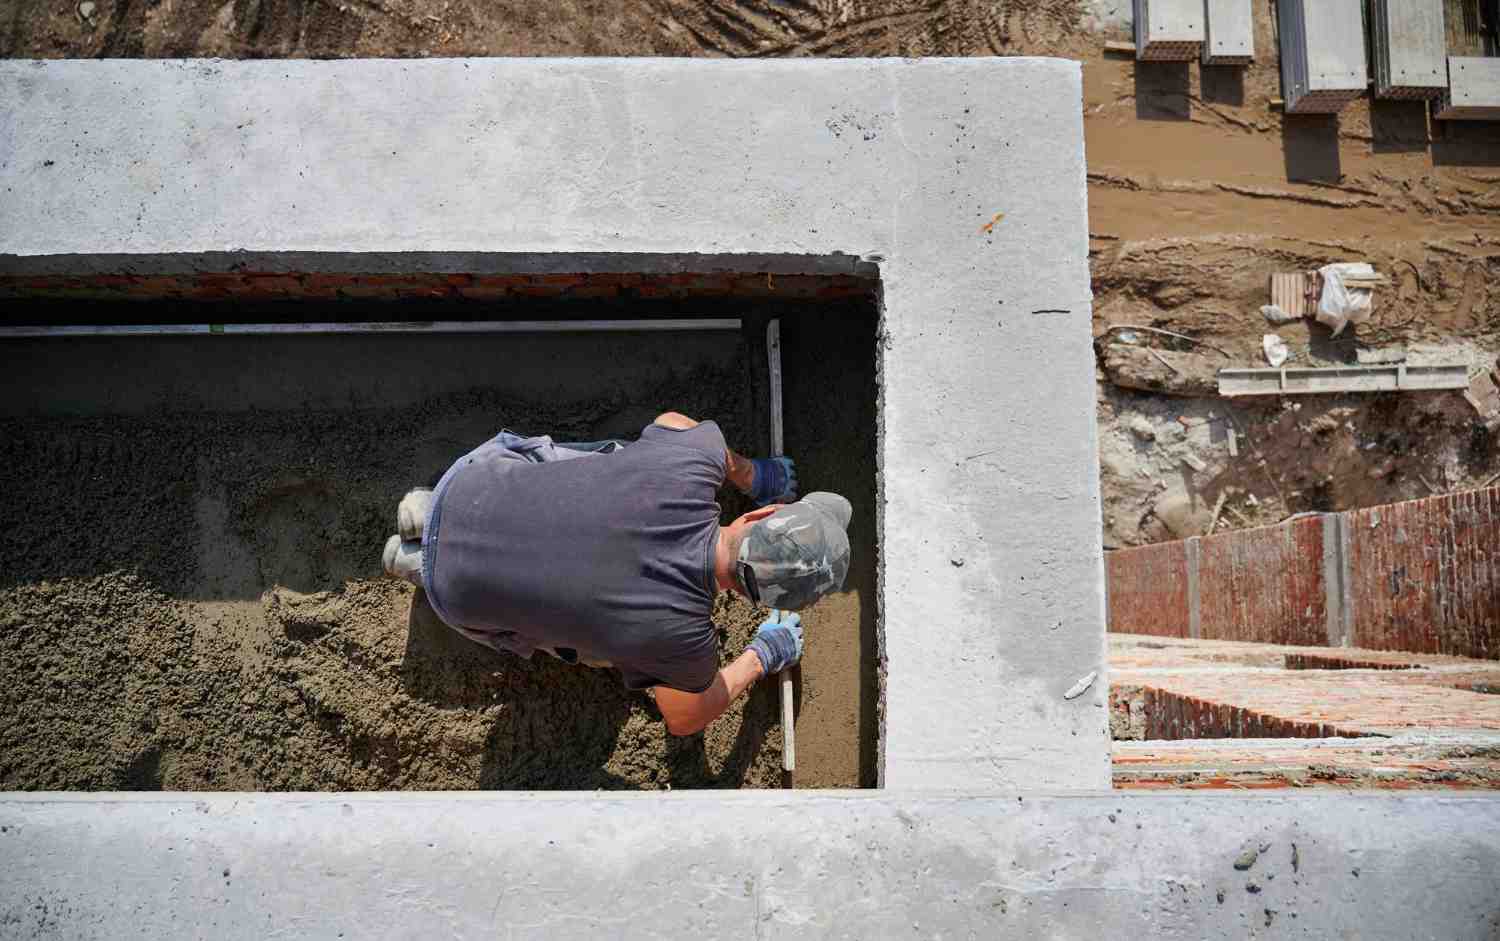
When the freshly mixed concrete is dumped, it spreads easily with a shovel since it is somewhat moist. After the concrete is completely poured, level and compact the surface with a wooden piece. To remove any air bubbles and level the surface, tamp them multiple times. Lastly, cover the concrete with an elevated polythene sheet to prevent cracks from forming if it dries too soon.
To keep everything flowing smoothly, remember that two people are needed to deal with concrete. So, beginning the process, make sure you have a helper with you.
It will take at least 48 hours for the concrete shed slab to dry, but it is best to wait longer. Once it has dried, you can remove the formwork timber, but it will take 28 days of curing to become strong enough to support a large amount of weight.
A boom pump uses a robotic arm (boom) to deliver concrete with precision at height or distance, making it ideal for large-scale and high-rise projects. A line pump, on the other hand, is better suited for smaller, ground-level jobs and uses flexible hoses to deliver concrete. We offer both types depending on your project requirements.
With a boom pump, concrete can be pumped up to 70 metres vertically and over 200 metres horizontally. Line pumps can reach around 150 metres horizontally, depending on the setup and hose diameter. Our experts will assess your site and recommend the best solution to reach even the most challenging locations.
Yes, it’s important to ensure the site is accessible, level, and free from obstructions. There should be enough space for the pump vehicle to park and operate safely. If you’re unsure about access or clearance, our team can provide advice or arrange a pre-site visit.
The duration of a concrete pumping job depends on the volume and complexity of the pour. In general, a typical residential pour can be completed in under two hours. Our efficient service aims to minimise downtime and keep your construction project on schedule.
Yes, concrete pumps can operate in light rain and mild weather conditions, but heavy rain, high winds, or frozen ground may delay or halt operations for safety reasons. We always monitor the forecast and keep you informed of any possible schedule changes.
Yes, all our pump hires include a trained and experienced operator who will handle the equipment and ensure concrete is placed efficiently and safely. They’ll also help guide you through the process on-site, ensuring a smooth pour every time.
Ready Mix Concrete London (Trading as Pro-Mix Concrete Ltd)
Copyright © 2025 | Ready Mix Concrete London (Trading as Pro-Mix Concrete Ltd) | All Rights Reserved.